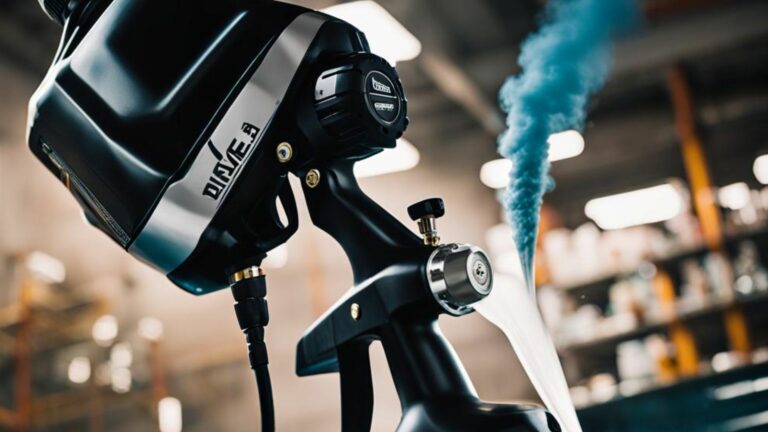
If you’re looking for a way to get professional-looking finishes on your paint projects, then a high-volume, Low-Pressure (HVLP) paint sprayer is worth considering.
It’s easy to use and delivers a fine mist of paint that doesn’t create a lot of overspray.
However, you need to know how to adjust your HVLP paint sprayer to get the best results.
In this article, we’ll provide you with a step-by-step guide on how to do it and some tips to help you get the best possible finish. So let’s get started.
Get to Know Your Paint Sprayer
Before we get into the adjustments, getting familiar with your paint sprayer is essential. Read the instruction manual, watch videos, or speak to an expert to better understand how it works.
Knowing the different parts and their functions can help you make more precise adjustments.
Choose the Right Nozzle
The nozzle determines the type of spray pattern and the amount of paint that comes out of the gun. Choose the right nozzle according to the type of paint and surface you’re working on.
A smaller nozzle gives you a finer mist, while a larger one may be good for covering a more significant area quickly.
Adjust the Air Pressure
HVLP paint sprayers use low pressure and high volume to give a fine spray, but you still need to adjust your air pressure.
Consult your instruction manual to know your spray gun’s recommended air pressure level and adjust it accordingly.
If you don’t have the manual, start with a low-pressure level and gradually increase until you get the desired results.
Test Your Spray Pattern
Before beginning your project, spray onto a test surface to ensure the pattern is consistent and you get the right amount of paint.
If the pattern is sporadic or uneven, you must adjust the nozzle or the air pressure.
Adjust the Fan Width
The fan width adjusts the shape of the spray pattern, allowing you to create either a wide or narrow pattern.
Adjust the fan width by turning the nozzle’s air cap or collar. This adjustment lets you customize the shape of your spray pattern to meet your specific needs.
Adjust the Paint Flow
Every paint type and surface differs, so you must adjust the paint flow rate. Start by adjusting the flow to the minimum and gradually increasing it until you get the necessary coverage.
This adjustment helps you get better coverage and avoid streaks.
Get the Right Distance
The right distance between the gun and the surface is essential in producing professional finishes.
Typically, the right distance should be between 6 and 8 inches, but read the user manual to confirm the right distance.
Clean Your HVLP Paint Sprayer
Cleaning your HVLP paint sprayer after each use is crucial to maintain its integrity and performance.
Use the manufacturer’s recommended cleaning solution; if none is available, use warm water and a mild soap solution.
Check for Wear and Tear
Before each use, inspect your HVLP paint sprayer for any signs of wear and tear. Replace any damaged or faulty parts before starting your project.
This inspection helps you save time between your projects if there are issues.
Practice Makes Perfect
Lastly, practice makes perfect. Don’t wait for a big project to test your sprayer. Experiment with it on cardboard or other surfaces before you start your final project.
Conclusion
In conclusion, adjusting your HVLP paint sprayer is crucial in producing high-quality finishes.
Make sure you take time to understand your sprayer, select the right nozzle, test your spray pattern, and adjust the fan width, paint flow, air pressure, and distance between the gun and the surface.
And don’t forget to practice on a test surface before you start your project. With these tips and regular maintenance of your HVLP paint sprayer, you can achieve professional results!


