
Are you fond of DIY projects? Do you like to repaint your walls, furniture, or car exteriors? Knowing how to mix paint is crucial if you’re using an HVLP sprayer to apply paint.
Mixing the paint correctly can lead to clogging, sputtering, and uneven spray patterns.
But don’t worry, here’s the ultimate guide on mixing paint for an HVLP sprayer that will help you achieve a smooth and even finish on your next painting project.
Understand HVLP Sprayers
HVLP stands for high-volume, low-pressure. It is a type of paint sprayer designed to atomize paint into tiny particles, resulting in less overspray and more control over the spray pattern.
HVLP sprayers require a specific type of paint viscosity, which means the paint has to be thinned down.
Choose the Right Paint
Many paint brands offer paint products that are specifically designed for spray applications.
These products are often water-based and already in a thin viscosity. Choosing the right paint product can save you time and effort in thinning the paint.
You can also ask the paint store staff to recommend a paint product best suited for a spray application.
Determine the Right Ratio
Once you have your paint product, it is essential to determine the right paint-to-thinner ratio. The ratio depends on the paint’s viscosity and the spray gun you are using.
Generally, a ratio of 1:1 or 2:1 (paint to thinner) is recommended for HVLP sprayers. However, referring to the paint manufacturer’s instructions for the specific ratio is best.
Assess the Paint Viscosity
The viscosity of paint is crucial when using an HVLP sprayer. If the paint is too thick, it won’t atomize correctly, leading to clogging and sputtering. If the paint is too thin, it can cause splattering and uneven spray patterns.
Assess the paint viscosity by using a viscosity cup or a dipstick. The cup is a common tool used to accurately measure the paint’s thickness.
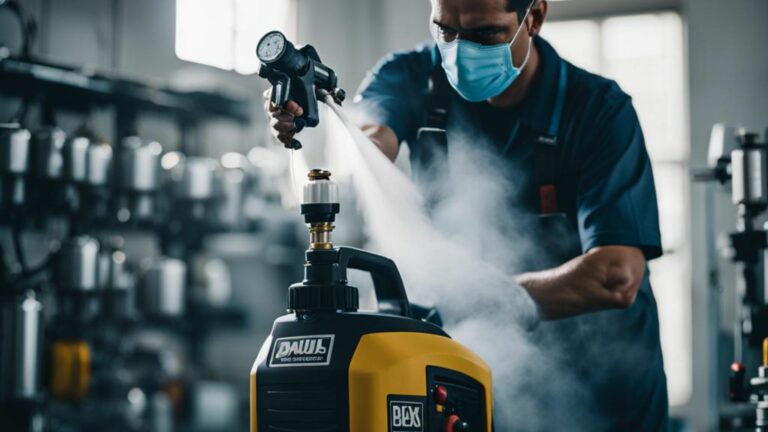
Mix the Paint Properly
After determining the right paint-to-thinner ratio and assessing the viscosity of the paint, you can now mix the solution.
Mix the paint and thinner in a separate container, slowly pouring the thinner into the paint while stirring continuously. Avoid mixing too much paint at once, as it can lead to wastage if unused.
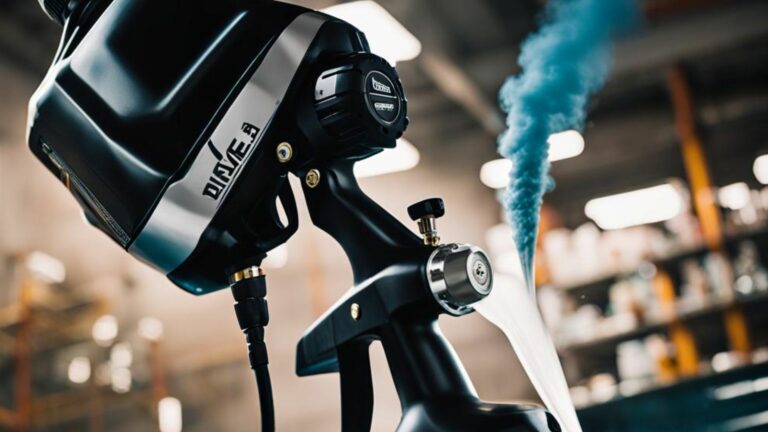
Test Spray the Paint
Before spraying the paint on your project, test spray on a scrap surface or cardboard. Testing the spray pattern and texture of the paint will give you an idea of its quality and performance. You can adjust the thickness or spray pattern based on your test results.
Add Retarder for Hot Weather
If you’re painting in hot weather, add a retarder to the paint and thinner mixture. A retarder slows down the drying time of the paint, which prevents it from drying up too quickly, leading to sprayer clogging.
Mix in Small Batches
Mixing the paint in small batches rather than mixing a large amount at once is best. Small batches are easier to manage and prevent the paint from drying up or evaporating before use.
This approach also ensures consistency in the viscosity of the paint, leading to better spray finish quality.
Check the Spray Pattern
Checking the spray pattern is another crucial step in mixing paint for an HVLP sprayer. The spray pattern must be uniform and consistent, as variations can lead to unsightly paintwork.
Check the spray pattern by spraying paint onto a test surface before applying it to your project.
Clean the Paint Sprayer
After completing the painting project, cleaning the HVLP sprayer thoroughly is essential. Cleaning the sprayer prevents paint buildup or clogging that could affect the sprayer’s performance in the future.
Follow the manufacturer’s instructions on how to clean the spray gun properly.
Conclusion
With these ten steps, you now have the knowledge and skills to correctly mix paint for your HVLP sprayer. A smooth and professional finish is possible with the know-how and the right tools.
Remember, always follow the manufacturer’s instructions on the paint-to-thinner ratio and the right viscosity for the product you’re using. Happy painting!